Tableau UI Tip 3: How to Add a Cross-Workbook Menu to a Dashboard
This is the third in a series of five posts about improving the user interface of your Tableau workbooks. For future Tableau tips, subscribe for weekly updates.
As a consultant, I’m often asked to consolidate many views on a single dashboard, or even many dashboards within a single workbook. Putting too much in a single dashboard or workbook has several disadvantages including (1) less efficient processing (2) increased difficultly in managing fields and (3) loss of focus on answering the business question at hand.
My solution for handling the too many views on a single dashboard request is to strategically group the views into separate dashboards. In the first Tableau UI tip, I illustrated how to make an integrated navigation to link multiple dashboards together.
But sometimes this is not enough. Sometimes the separate dashboards warrant their own workbooks, and your user interface should provide an intuitive way to link those workbooks together. This post shows you how to use dashboard actions to add a cross-workbook menu to a Tableau dashboard.
How to add a cross-workbook menu to a Tableau dashboard
To illustrate adding a cross-workbook menu to a Tableau dashboard, we will be building on the splash page style dashboard from the previous UI tip. In this version, I’ve added a small menu that looks like three bullet icons. Hovering over the menu provides links to other workbooks on Tableau Online, Tableau Server, or Tableau Public.
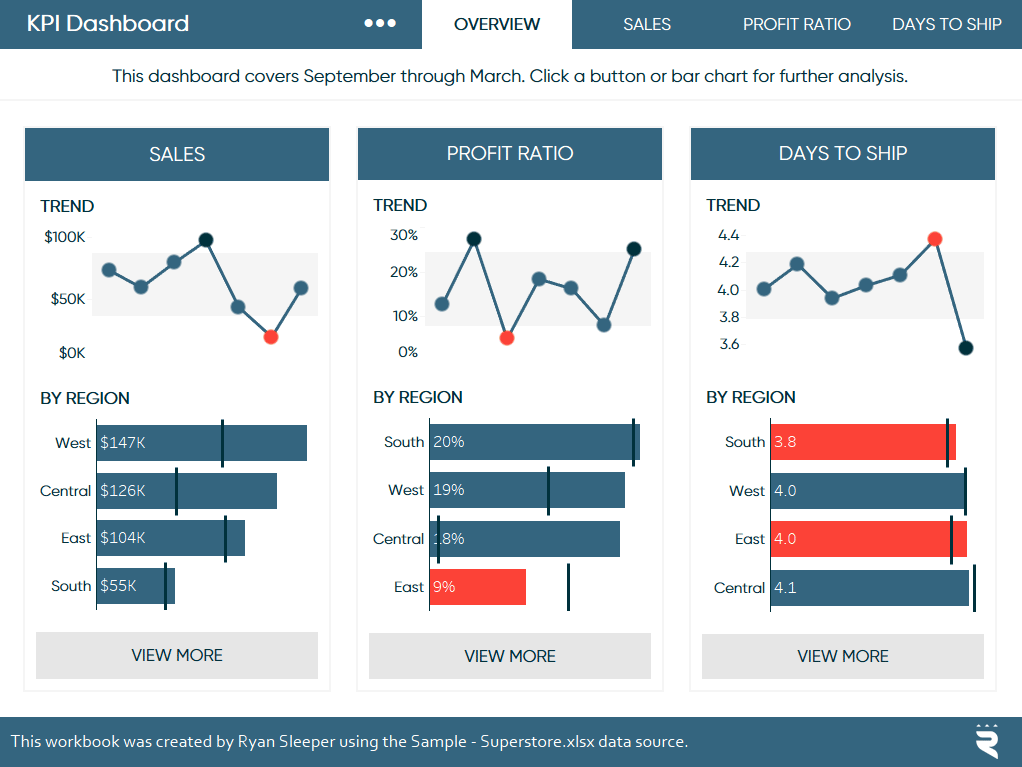
I normally prefer the bullet characters approach to my cross-workbook menu design because it is efficient to make, has a subtle design, and it doesn’t require purchasing an icon. This is one of several ways to use alt code characters to enhance your Tableau dashboards.
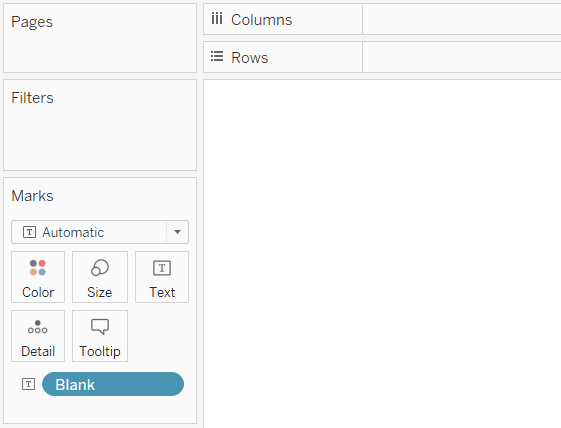
If you would like to create something similar, start by creating a new worksheet. Next, place a dimension containing a single member onto the Text Marks Card. For efficiency, I often create a calculated dimension in my data source called Blank, with the entire formula being two quotation marks, “”.
The reason this is needed is because something has to be on the Text Marks Card before you can customize the text with the bullet characters. I prefer to use dimensions with only one dimension member to avoid having to use filters, and the ‘Blank’ dimension is an easy way to accomplish this.
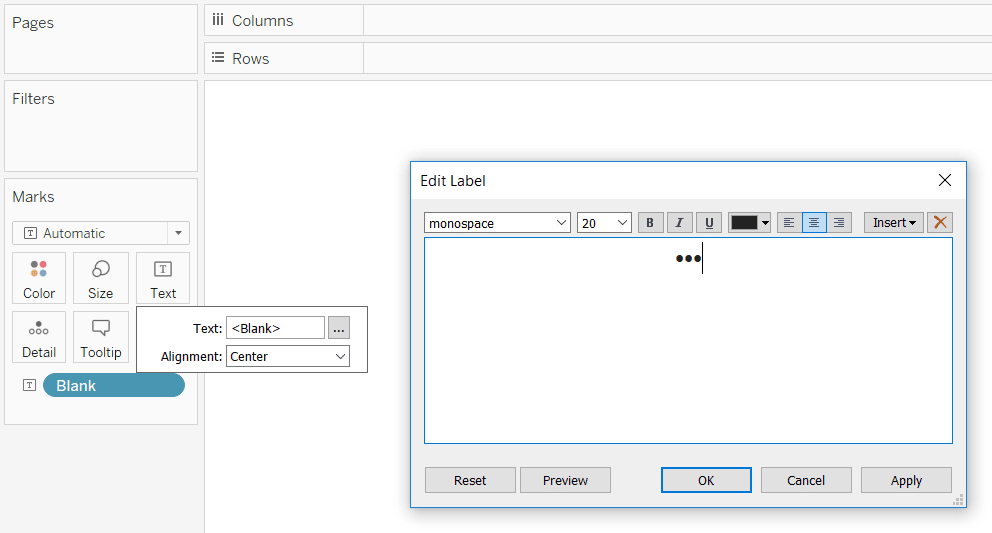
Now I can customize the text by clicking on the Text Marks Card and clicking the “…” that appears to the right of the “Text:” box. Here’s where I’ll paste the bullet (“•”) alt code three times to form my menu.
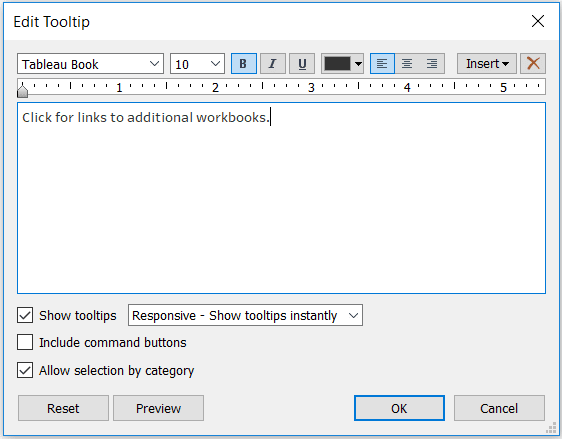
I recommend editing the tooltip to include a call to action or a description for the cross-workbook links that we will eventually provide. This will show up when the end user hovers over the menu.
I’ll also format the menu by making the bullets white and changing the shading of the sheet to match the top navigation where the menu will be placed.
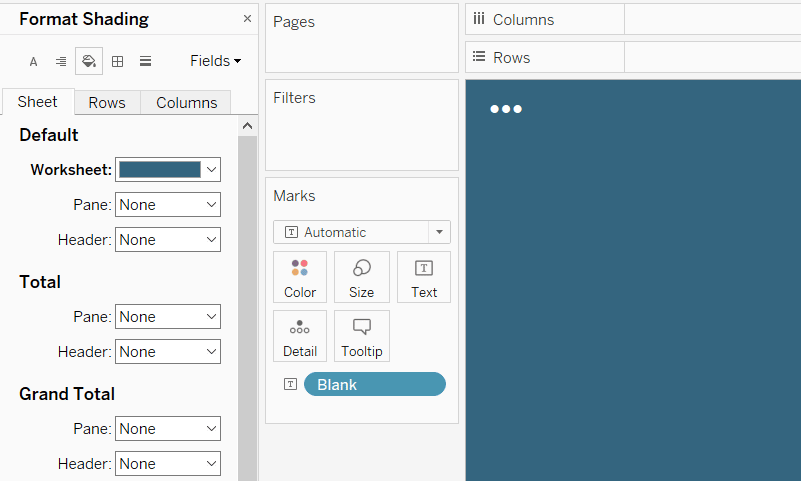
Next, go back to your dashboard where the menu will reside and simply place the sheet containing the new menu wherever you would like on the dashboard. I chose to float the menu in the top navigation.

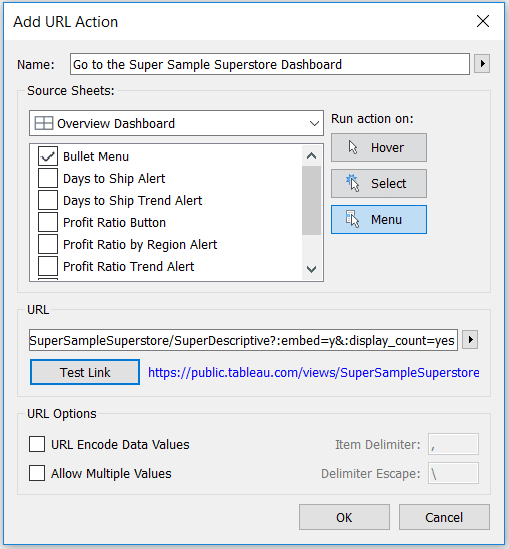
Here’s where the magic happens. Now that the menu is on the dashboard, and because it is a sheet, you can add a dashboard action to it. For each link (i.e. Tableau Online, Tableau Server, or Tableau Public location), add a URL dashboard action to the menu sheet.
The most important thing is to give the dashboard action a descriptive name that will tell the end user what they can expect to happen when clicking the link. For demonstration purposes, I’ll set up a Tableau Public link to the Super Sample Superstore dashboard.
An Introduction to Tableau Dashboard Actions
Now when the end user hovers over the menu, they will see a call to action, and the links that are provided.

If they click the link, the destination link that you provide in the URL dashboard action will open in a new window. Add a URL dashboard action for each link and they will all appear in the menu on hover!
You can even make a menu that looks like an icon of your choosing. If you want to take this tutorial to the next level, use the approach to creating icon-based navigation or filters in Tableau. The only difference is that you’ll use a dimension with a single dimension member and add a cross-workbook link as a URL dashboard action as described above.
Thanks for reading,
– Ryan
Related Content
3 Creative Ways to Add Instructions for Your Users in Tableau
When you publish a Tableau dashboard, you want to ensure that every user, regardless of their data literacy, can easily…
Ryan Sleeper
Link Tableau dashboards with a seamless navigation menu This video shows you how to create a user-friendly navigation experience by…
The Definitive Guide to Buttons in Tableau
The Button. Seemingly simple — yet so powerful. As humans, we are well versed in buttons and have been trained…

