How to Add a Button to a Tableau Dashboard

Update: As of Tableau version 2018.3, there is a dashboard object that provides an easier way to add a button to a dashboard when linking to other dashboards within a workbook. If your company has not upgraded or you are wanting to link a button to the web, feel free to keep reading. If you are using version 2018.3 or later, you may prefer to view 3 Ways to Add a Button to a Tableau Dashboard on Playfair+.
I’ve shared before that the reason I hitched my wagon to Tableau is the software’s flexibility. There simply is no other data visualization tool on the market today that allows me to create practically any visual or user experience I can imagine. Tableau is so flexible, in fact, that you can create web pages – and arguably websites – all within the authoring and dashboarding interfaces.
This post shares a simple way to improve your end user’s experience by adding a button to a Tableau dashboard. These buttons can be used for several practical purposes including, but not limited to, (1) calls to action for a mainstream audience (2) a way to alert internal audiences of insights, and (3) a method for linking related dashboards together.
Any image object on a Tableau dashboard can be made a “button” by setting its URL, but the approach shared here provides the added benefits of (1) showing a call to action on hover and (2) allowing you to format the button from right within Tableau.
![]()
Continue reading with a free account, or login.
Unlock this tutorial and hundreds of other free visual analytics resources from our expert team.
Already have an account? Sign In
By continuing, you agree to our Terms of Use and Privacy Policy.
Introduction and use case
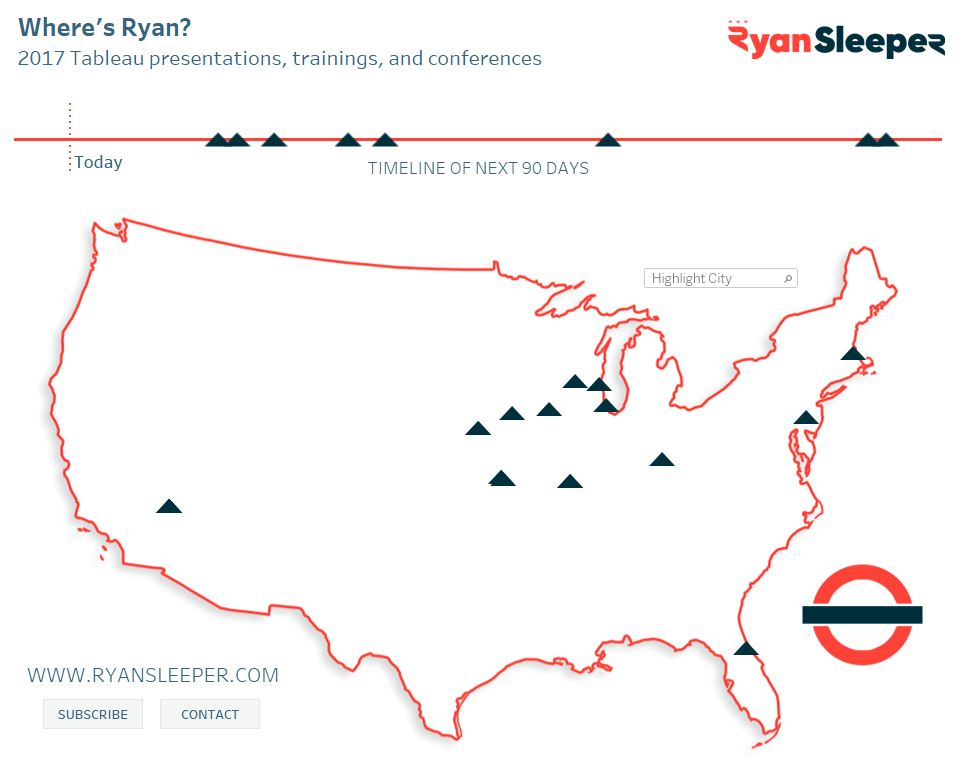
To illustrate my approach for adding a button to a Tableau dashboard, I’ll be using my Where’s Ryan dashboard. In the dashboard, there are two buttons; one which allows the end user to subscribe to my mailing list, and one that allows the end user to email me directly for speaking inquiries.
[Click image to view interactive version]
To add a button to a Tableau dashboard, start by creating a new worksheet. This worksheet will eventually be the button itself.
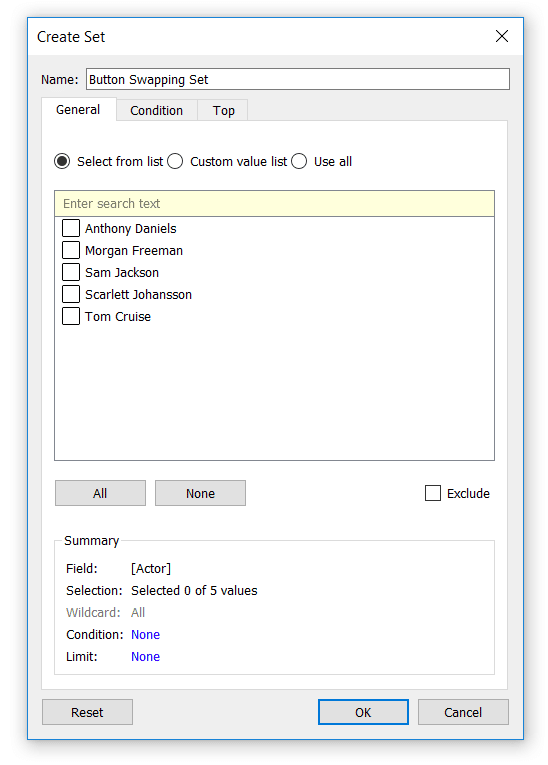
How to create a dummy field in Tableau
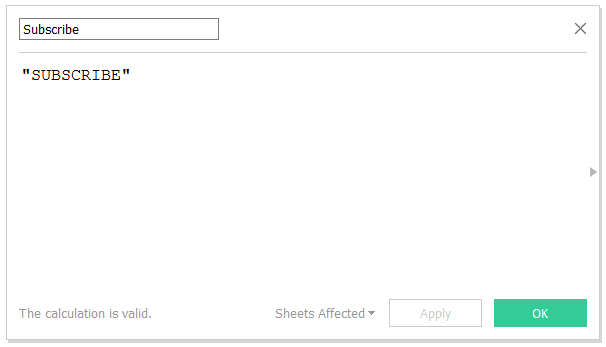
Next, create a calculated field with the copy for your button. This calculated field will contain the copy for your button within quotation marks. Here is my calculated field for the subscribe button:
On your new worksheet, drag this newly created calculated field to the Text Marks Card.
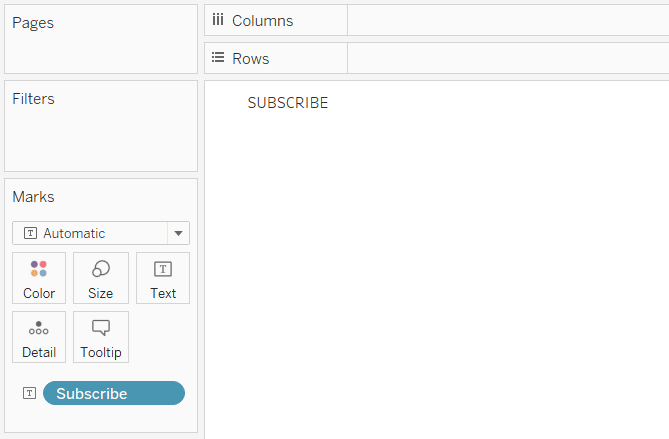
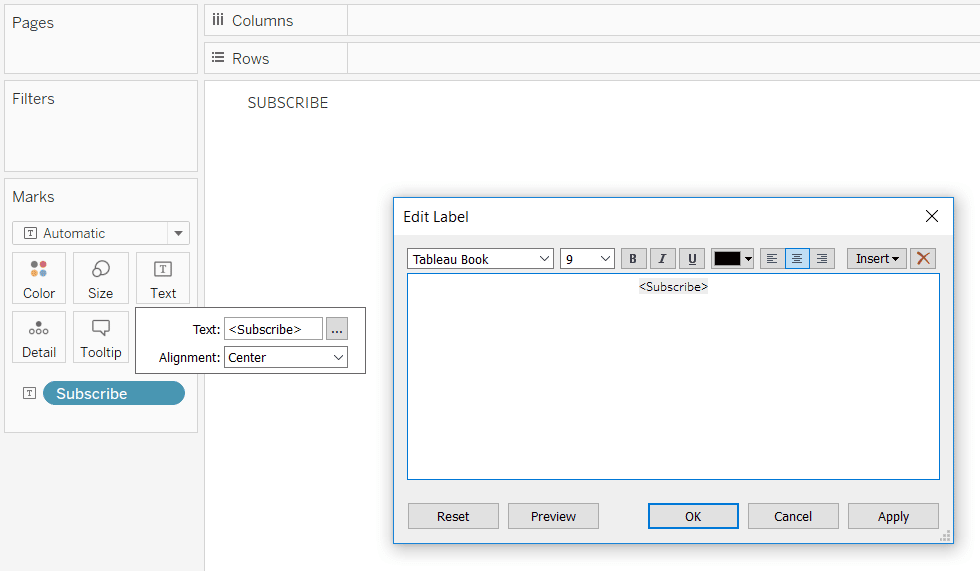
Now that this “Subscribe” calculated field is on the Text Marks Card, you can click on the card, then click the “…” button to modify the text. Here you can change the format of the font or even change the copy from your original calculated field.
You can also add a customized call to action by clicking on the Tooltip Marks Card. Whatever you type here will show up when the end user hovers over the button.

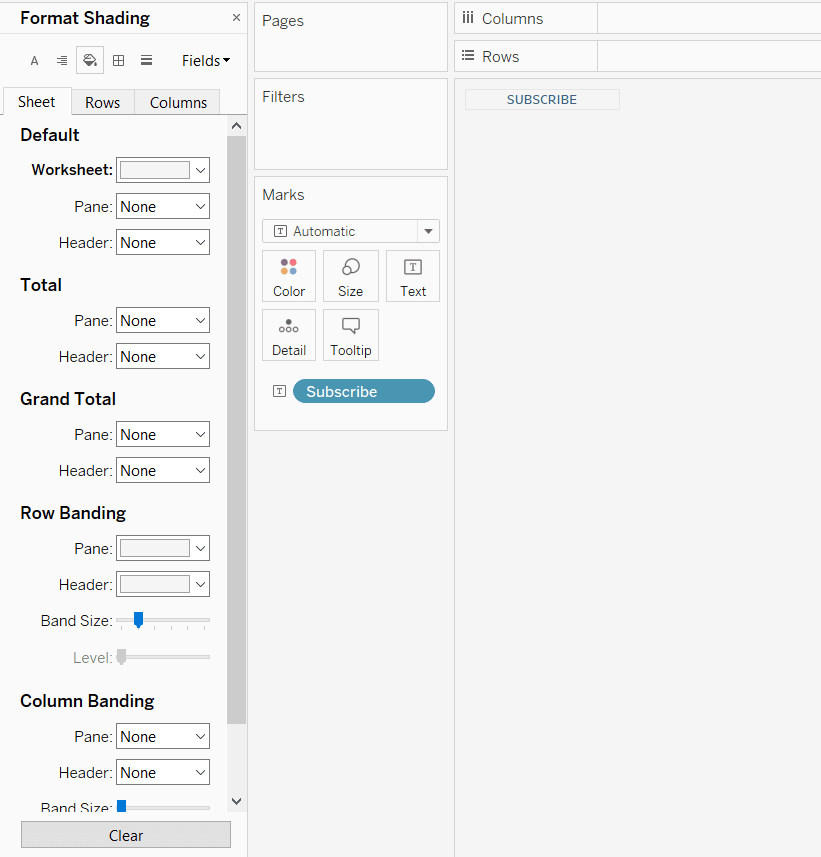
Formatting the Tableau button
After customizing the button copy and call to action, you can also format the button’s borders and color by right-clicking anywhere on the button and choosing “Format…”. Here’s how my final button looks after changing the shading to gray and adding a solid gray border.
After your button is finalized, you are ready to add it to a dashboard. This is reason #247 I’m on Team Floating, but that’s a topic for a different day. I personally recommend floating the button in the exact location you prefer and in the exact dimensions you prefer. After the button is on the dashboard, the trick to making this an external button linking anywhere you like is to use dashboard actions.
Activate the Tableau button with dashboard actions
Because this button is its own sheet, we can add a URL dashboard action exclusively for this button. To do so, click “Dashboard” in the top navigation of the dashboarding interface and choose “Actions…”. On the dialog box that appears, click the “Add Action >” button, and choose “URL…”. Now set up the link as you wish.
An Introduction to Tableau Dashboard Actions
In this example, I’ve used a button on a Tableau dashboard as a marketing tactic to collect email addresses, but there are many applications of this user experience. One of my favorites in a corporate setting is to link to a related dashboard or a deeper analysis (i.e. the URL of the related dashboard on Tableau Server, Tableau Online, or Tableau Public).
![]()
You can also set up a “mailto:” link, which will allow you and your end users to start an email in one click. This is what I did with the contact button in the visualization pictured in the introduction; clicking on the contact button will start an email with my email address already populated. To do something similar, simply use this code as your URL in the dashboard action: “mailto:[emailaddress]”.
Thanks for reading,
– Ryan


Written By
Ryan Sleeper
Related Content
Enhancing UX with Interactive User Guides in Tableau

An effective user guide is a powerful tool when it comes to helping any user get the most out of…

Ethan Lang
Six Components of Layered Graphics Layering graphics is a technique found everywhere in data visualization. From coding in R to…
Introducing Balance Scale Charts in Tableau

The “Balance Scale chart” came to life during a team brainstorming session while building the Financial Analysis Swift as we…