3 Innovative Ways to Zoom in Tableau

As our dashboards get more complex, we can sometimes be limited on space. It’s hard to find a happy medium where we have the data and visuals needed to tell our story while being mindful of the size of our dashboards. Sometimes we are left with no other choice but to decrease the size of our visuals, but we then sacrifice the accessibility of our dashboard by doing so. A solution to this problem is to incorporate ways for the user to zoom into different charts or tables on the Tableau dashboard. With this in mind, I have come up with 3 innovative ways to incorporate zoom functionality in Tableau. As a bonus, I will also introduce some formatting tips that can help add some professional polish to these techniques.
Learn more user experience tips & tricks with Playfair+
How to navigate the user to another dashboard in Tableau
This technique will allow us to add a button on our dashboards that a user could click on and it would expand the sheet they have selected. This works great when we have limited space and need a way to enlarge a single sheet for analysis.
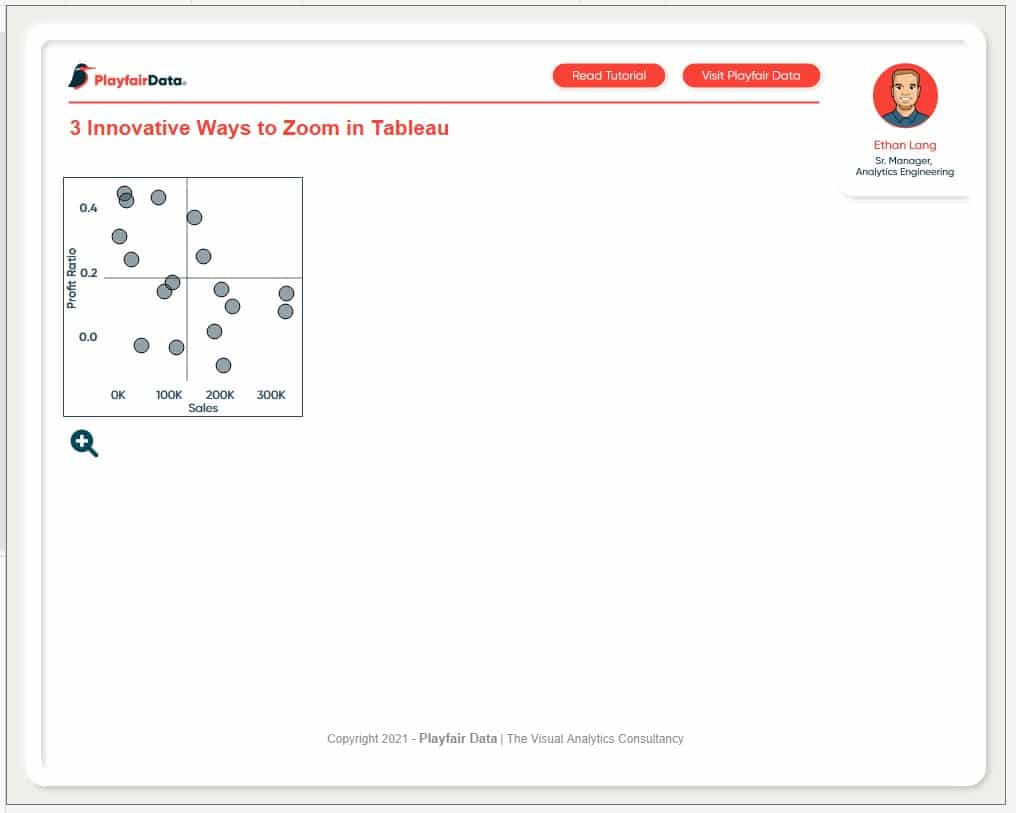
To get started, I am going to connect to our Sample-Superstore dataset and create a simple scatter plot. To do this I will drag Sales to the Columns shelf, Profit Ratio to the Rows shelf, and Sub-Category to the Detail property of the Marks card. Next, I will add my scatter plot to a dashboard and adjust the size to simulate minimal space.
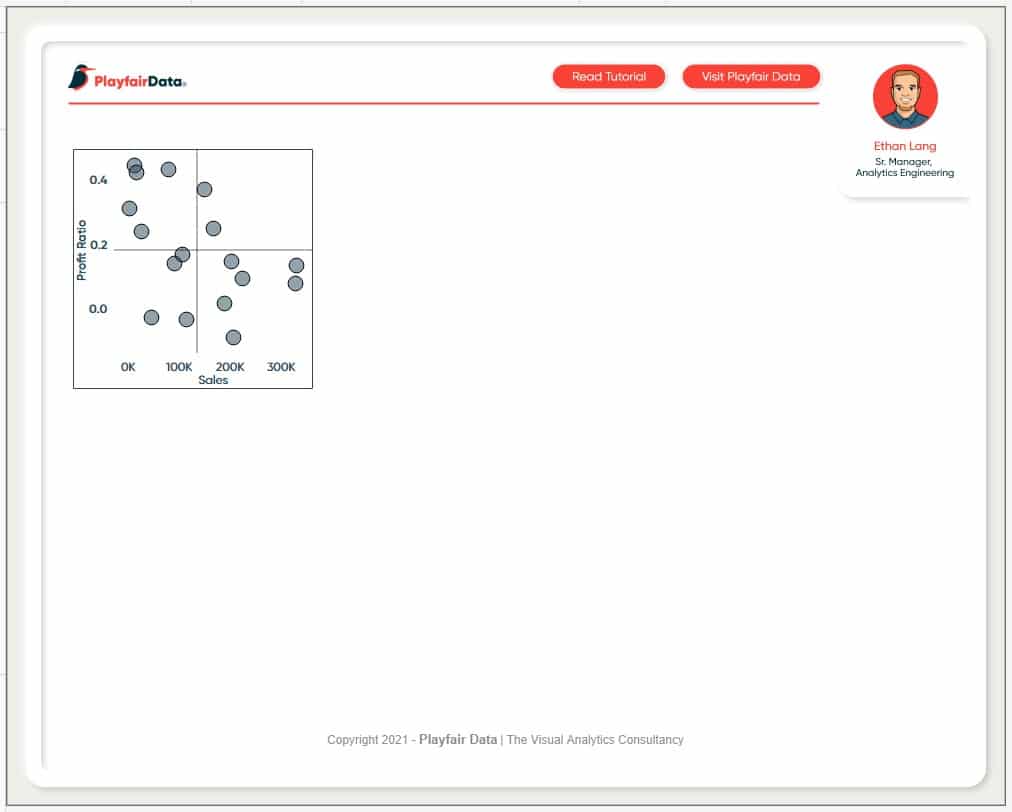
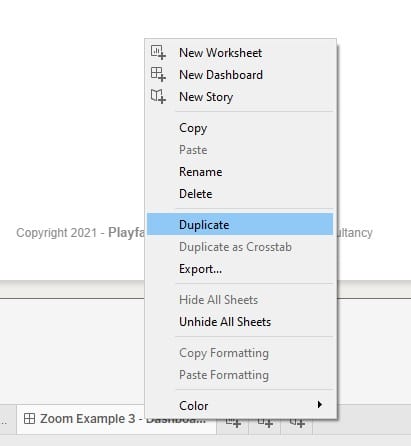
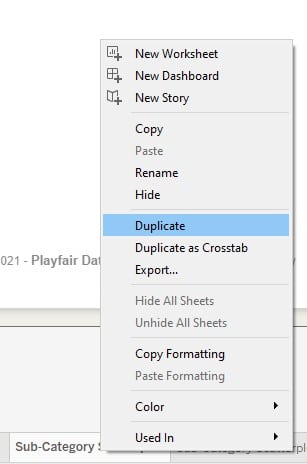
For this technique, I want to create a duplicate dashboard that will show our scatter plot sheet bigger in the view. The end result is going to appear as if we zoomed into the sheet. The first thing we need to do is duplicate our dashboard. To do this, simply right-click on the dashboard at the bottom of the Authoring interface then select Duplicate from the menu.
![]()
3 Ways to Add a Button to a Tableau Dashboard
On the copy version of the dashboard, I want to add some formatting to make it distinct to the user that we are zoomed in on the sheet. To do this I am going to add a horizontal object to the dashboard and drag my scatter plot inside it.
Continue reading with a free account, or login.
Unlock this tutorial and hundreds of other free visual analytics resources from our expert team.
Already have an account? Sign In
By continuing, you agree to our Terms of Use and Privacy Policy.
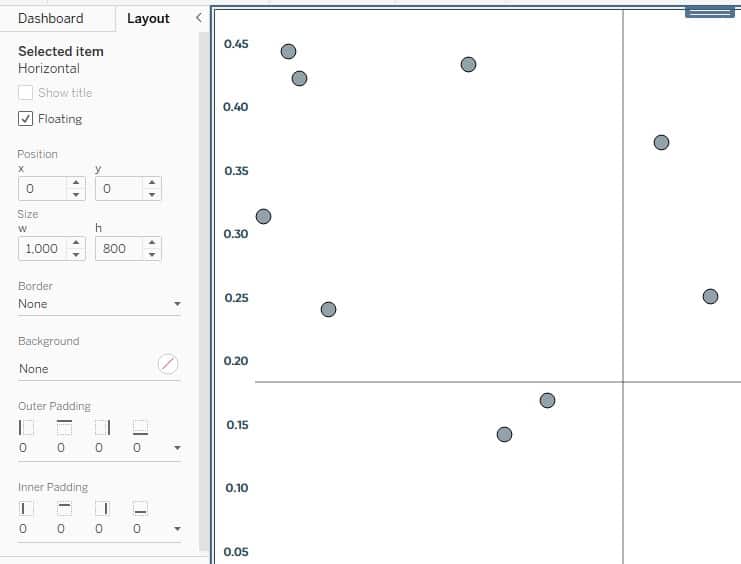
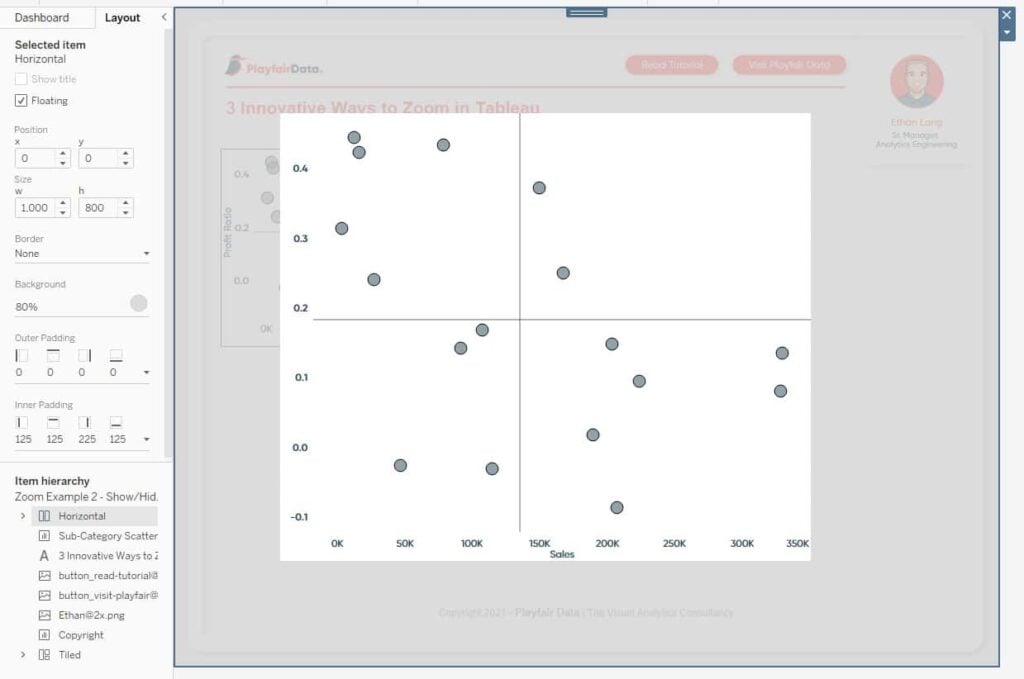
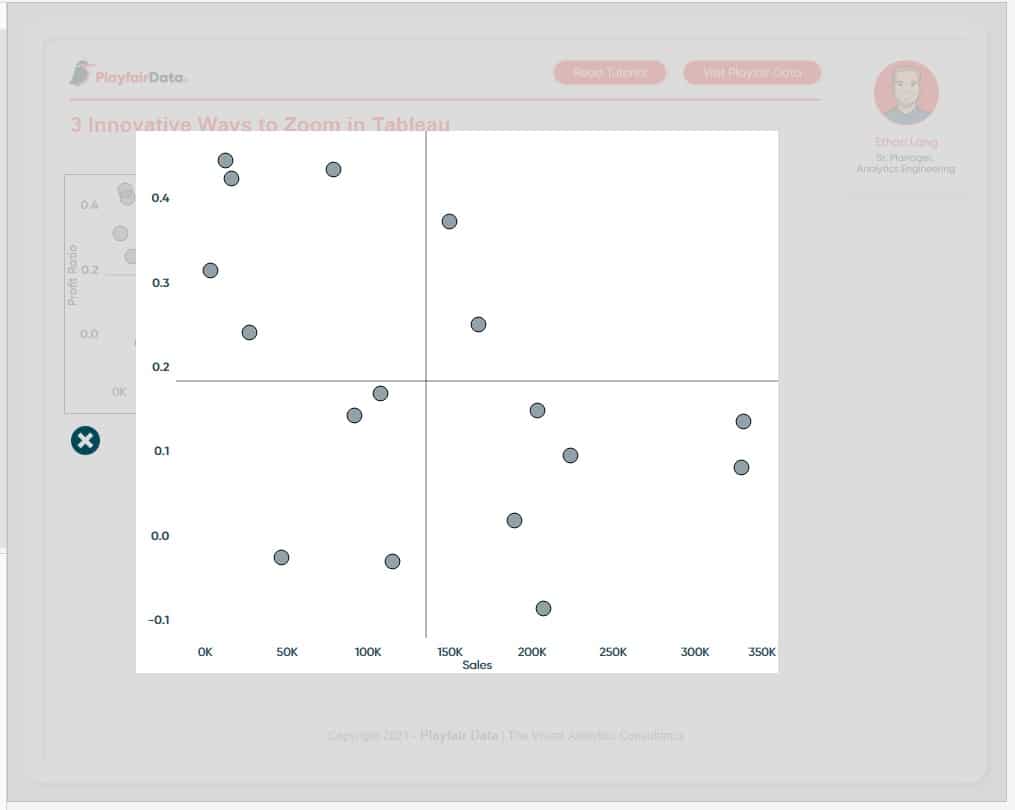
Now, I want to size that object to take up the entire dashboard. With the horizontal object selected, I am going to click on the Layout pane in the top left of the Authoring interface. From this pane, I can manually adjust the x, y, height, and width of the object. My current dashboard is sized 1000×800 to match this I will assign the following values.
We can see that we are left with the sheet taking up the entire view. While this is somewhat the effect we were looking for, it isn’t very appealing to the end-user and honestly not that intuitive. Let’s add some additional formatting.
First, let’s add some inner padding to the horizontal object. In the Layout pane, I will select the Inner Padding dropdown and add a value of 200.
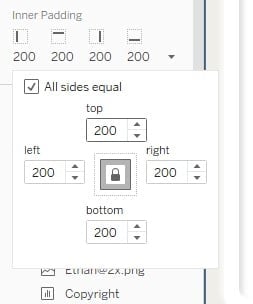
We can see this shrinks up the sheet and centers it in the middle of the dashboard.
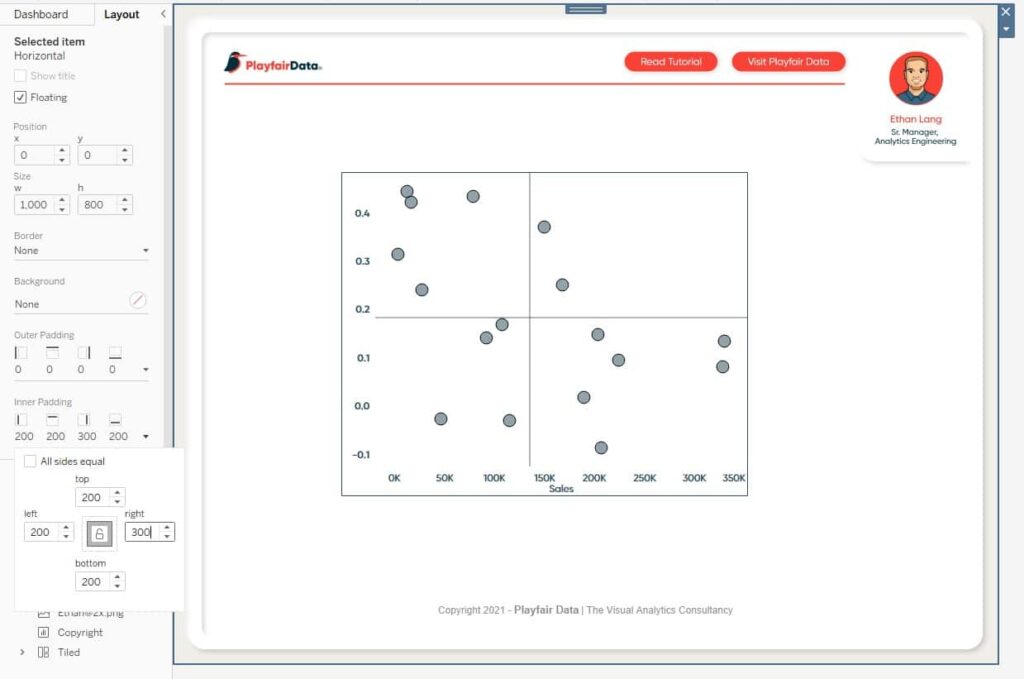
It’s starting to come about but because this is a scatter plot, I want to square it up a bit. I will click on the Inner Padding options again and click the Lock symbol in the middle. This will allow me to adjust each side individually rather than all together. I will change the Right padding to 300.
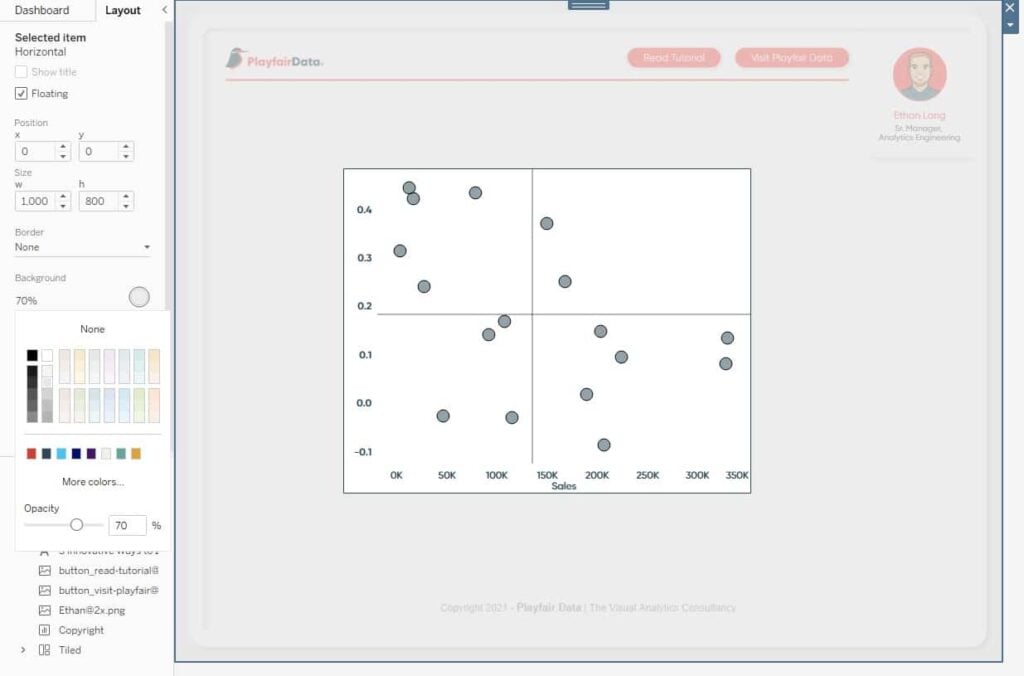
To wrap up the formatting I am going to blur out the rest of the dashboard. From the Layout pane, I will click on Background and then select a light grey. Then, I will adjust the opacity to 70%. This will allow us to still see some of the backgrounds behind the sheet but give us a blurred effect.
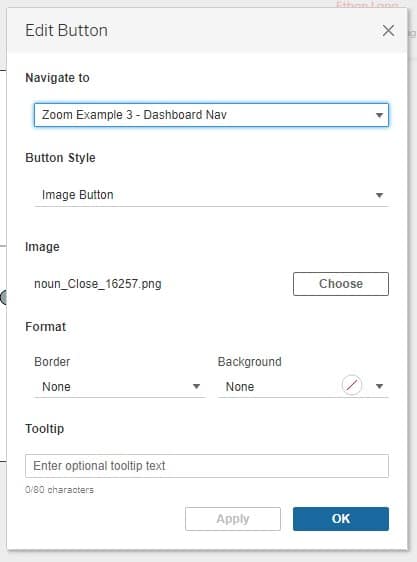
I will call that good for the formatting but we still need to connect the dashboards. I’ll select the Dashboard pane from the tab in the top left of the Authoring interface. Then drag a navigation object onto the view. In the navigation object menu, I will choose the original dashboard and then select an image to “close” the zoom feature.
That finishes up this dashboard, so I will now go back to my original and add a similar navigation object mapped to my copy. With both dashboards connected, we have completed this technique.
How to zoom using a Show/Hide button in Tableau
This technique is similar to the last however we can implement it on a single dashboard. The only caveat is that our show/hide button has to stay in the same location. This means that we will have to adjust the padding around to account for that so the user can “close” the zoomed view.
How to Add a Show/Hide Button to a Tableau Layout Container
To get started, I will create a new dashboard and drag our scatter plot onto the view. Now I will add a horizontal object to the view and size it to cover the entire dashboard just like before. With this tactic, I need to duplicate our original scatter plot since we need to add a copy to the horizontal object. To do this, I will right-click on the sheet at the bottom of the Authoring interface and select Duplicate From the Menu.
Now I will drag the copy into the horizontal object. We will see that once again it takes up the entire view just like the last section. I will add all the formatting techniques from the last section to the horizontal object to get to the desired effect.
The last step is to add the show/hide button to the view. To do this, we need to click on the “more options” tab that is displayed to the right when we have the horizontal object selected. In the more options menu, I will select Add Show/Hide Button.

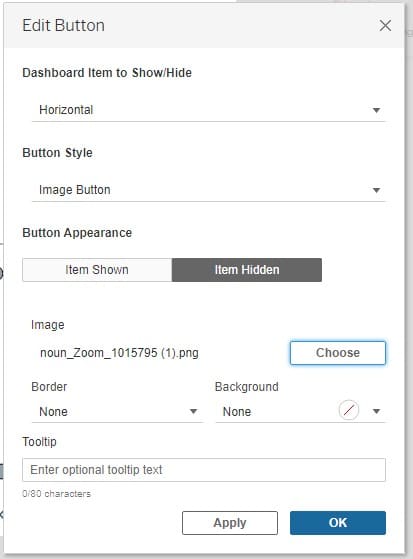
This will add a floating object to the view that we can edit by double-clicking on the object. In this menu, we need to map both the show and hide images. I will click the Item Shown tab and choose my image then do the same for the Item Hidden tab.
Now I will move the show/hide button and place it appropriately on the view. Remember we want it near the original sheet we are zooming in on but we don’t want it to show up on top of the Zoomed In sheet that is hidden. I will move the show/hide button just below my original sheet.
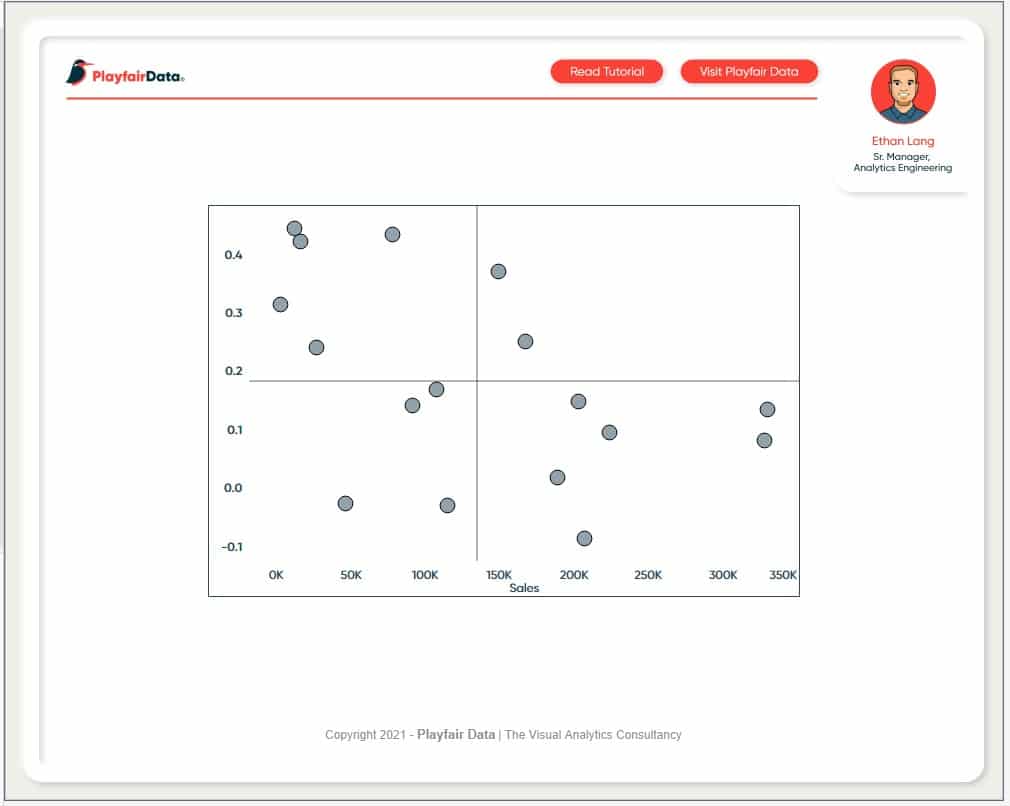
Here is the dashboard when we are not zoomed in.
And here it is after we zoom in.
Drilling into the level of detail of a single sheet in Tableau
For this tactic I want the user to be able to click on a Sub-Category from my scatter plot and zoom into the products of that Sub-Category within the same sheet.
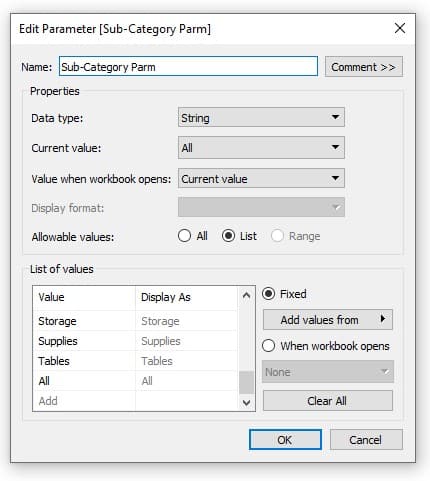
To kick us off, I will start by creating a parameter, changing the data type to String, selecting List, and then adding all the Sub-Categories to the list. I will also need to add an “All” value to my list. After I am done, we will have the following results.
An Introduction to Parameters in Tableau
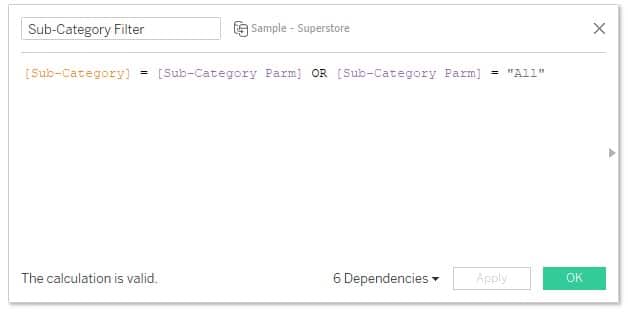
I am going to use this parameter to filter the products to a specific Sub-Category on selection and to change the level of detail of the view. For the filter, I will create a new calculated field and enter the following calculation.
[Sub-Category] = [Sub-Category Parm] OR [Sub-Category Parm] = “All”
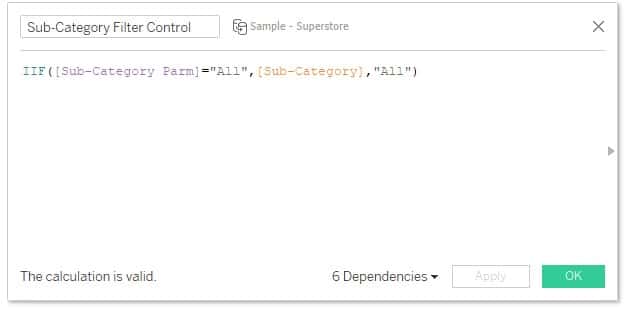
I also need a calculation for the parameter action that will pass our selected Sub-Category to the parameter or the All value when we want to zoom out. I will create a new calculated field and enter the following calculation.
IIF([Sub-Category Parm]=”All”,[Sub-Category],”All”)
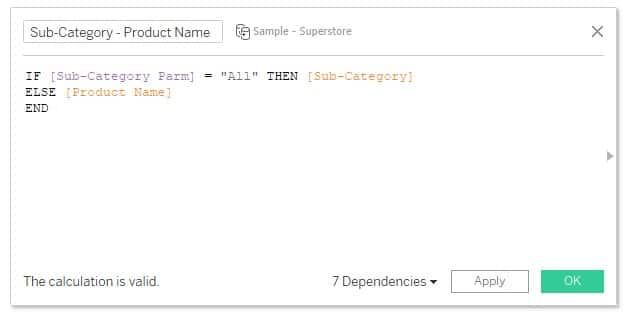
The last calculated field will be to switch my level of detail from Sub-Category to Product Name. I will create a new calculated field and enter the following calculation.
IF [Sub-Category Parm] = “All” THEN [Sub-Category]
ELSE [Product Name]
END
That should be all the calculations we need to make this tactic come to life. Let’s start adding all these new calculations to the sheet. I will start with the Sub-Category Filter to the Filters shelf. The other two I will add to the Details property of the Marks card. Our final sheet will look like this.

With our sheet setup, I am going to create a new dashboard and add my sheet to the view. Now we have to create a dashboard action to bring this all together. The desired end result will allow the user to click on a Sub-Category and then we will zoom into the Products for that Sub-Category, then if the user clicks on a product, it will zoom back out to all the Sub-Categories.
![]()
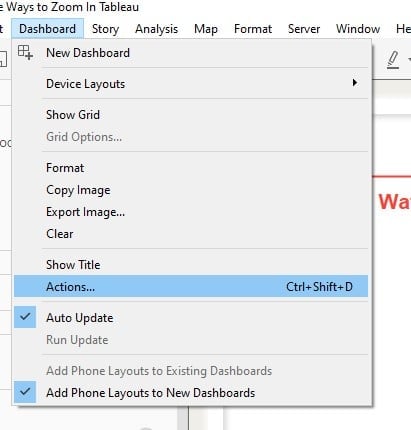
First, I will click on Dashboard in the top navigation then select Actions from the menu.
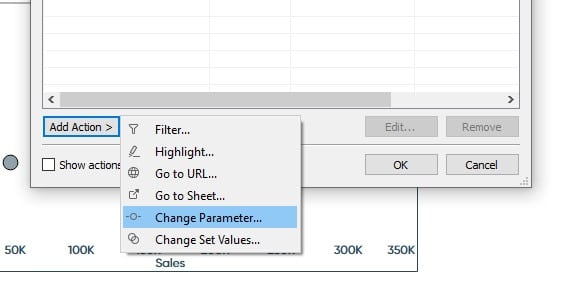
In the next menu, I will click Add Action at the bottom and select Change Parameter.
Now I am going to choose my source sheet, select the Sub-Category Parm as the target parameter, then select Sub-Category Filter Control as the Field that will pass to my parameter.
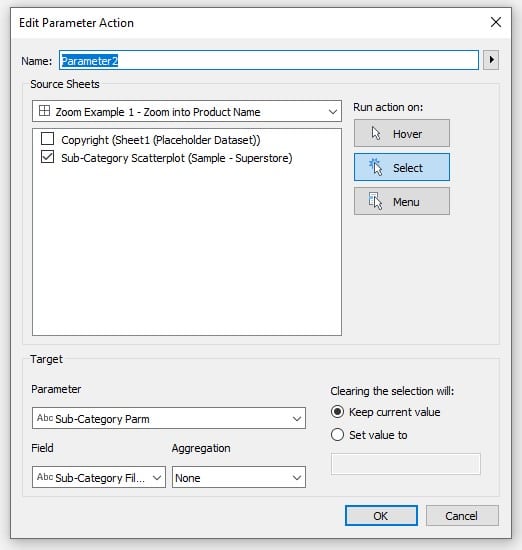
I will click OK, then click OK again to close the Actions menu. Now we have our dashboard actions set up. From the dashboard, we can click on a Sub-Category in the view and we will see two things happen; our sheet will filter to that Sub-Category and the level of detail will change to Product Name. Then, if the user clicks a Product Name, we will see the sheet zoom back up to Sub-Category.

We are now armed with several tactics that we can implement to zoom into sheets within a dashboard.
Until next time,
Ethan Lang
Director, Analytics Engineering
[email protected]

Written By
Ethan Lang

Peer Review
Maggy Muellner
Sr. Visual Analytics Associate

Peer Review
Maddie Dierkes
Manager, Decision Science

Graphic Design
Dan Bunker
Manager, Decision Engineering
Related Content
How to Zoom Into Scatter Plot Quadrants in Tableau

Scatter plots are a great way to see a lot of individual data points and consider the bigger picture at…
How to Drill into a Bar Chart Using Sets in Tableau
There are many times when we create a view that makes our users want to dive deeper into the data…

Ryan Sleeper
Unlock Better User Experiences by Toggling Elements On and Off Tableau’s Show/Hide button allows you to turn off access to…